You are|Are|Again} looking for idea recipes easy madeleines with belly buttons that are delicious? How to prepare it is indeed not too difficult but not easy either. If wrong processing, the result will be tasteless and in fact tend to be unpleasant. Even though the delicious easy madeleines with belly buttons should had aroma and taste that could provoke our taste buds.
Many things that more or less affect the taste quality of easy madeleines with belly buttons, start from the type of material, then material selection fresh, until the way of processing and serving it. No need worry if want prepare easy madeleines with belly buttons delicious wherever you are, because as long as you know the trick, this dish is can be dish special.
Ingredients and seasonings used in prepare
- Use 2 Eggs
- Prepare 1 tbsp Honey
- Prepare 1 tbsp Milk
- Prepare 80 grams Sugar (caster sugar)
- Prepare 100 grams Cake flour
- Take 2/3 tsp Baking powder
- Prepare 80 grams Butter
- Prepare 15 drops Vanilla oil
On a cookie sheet, lay out your pretzels in a single layer. Unwrap and put a hershey kiss in the center of each pretzel. Take out and immediately press a single M&M into the center of each melty kiss. Perfect for Making classic French shell-shaped madeleines and great mould for cookies, and chocolate and candy.
- Break the eggs into a bowl and beat with a whisk. Add the honey, milk, sugar, and vanilla oil and mix well.
- Sift in the cake flour and baking powder into the bowl from Step 1, and mix in a circular motion using a whisk. The flour may fly out in the beginning, so be careful and mix slowly.
- Put the butter in a heatproof container and melt it in the microwave. Put the melted butter into the bowl from Step 2, and mix well with a whisk. Pour the batter into cupcake molds, cover with plastic wrap and leave to rest at room temperature for 20 minutes.
- While the batter is resting, wash the dirty dishes. Also, preheat the oven to 210°C with the baking sheet inside.
- After 20 minutes, take the baking sheet out of the oven (it's hot so be careful), and quickly put on the batter-filled cups. Put the sheet back in the oven and bake for 15 minutes. When the madeleines are nicely browned, and a skewer pierced into one comes out clean, they're done.
- The flavor of the madeleines won't have settled yet when they are fresh out of the oven, so be sure to let them rest for half a day or more before enjoying them. As time passes, they become moist, and take on a nice sheen on the surface.
- Tip: if you put the batter in a cup with a spout, it's easier to pour into the cups.
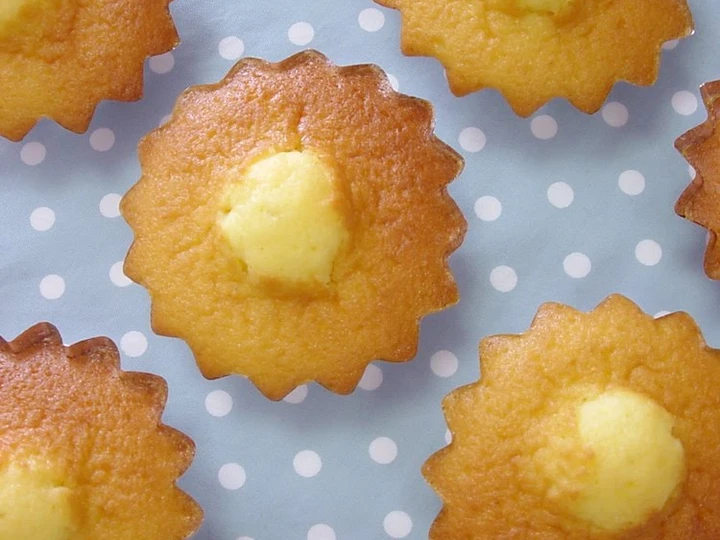
- The madeleine on the left has a "belly button." The one on the right was baked without resting.
- The size and shape of the 'belly button' will vary depending on the type of cup you bake the batter in - this is quite fun. Enjoy different kinds of "belly buttons" using different types of cups, as described below.
- This is a 3 cm diameter mini cup that spreads out vertically. It's small but surprisingly deep.
- Using the cups shown in Step 10: The "belly buttons" are more like pot-bellies, but they're cute anyway, so I like them a lot.
- This are foil cups with 7.5 cm diameter bottoms. This is a real madeleine cup. It's flat.
- Using the foil cups shown in Step 12: If you bake the madeleines in flat, shallow cups, the "belly button" bump in the middle will be not be as pronounced.
- Here I used small morning glory flower-shaped cups, and added 2 tablespoons of cocoa to the batter.
- Done and ready to serve!
Flexible and easy to clean, just pop out with fingers in perfect shape. Save time to enjoy more fun on DIY healthy treats. Remember to keep your body straight and your pelvis tucked slightly. Your arms should be shoulder-width apart with both palms on the floor. Your legs should be extended behind you, feet together.
I say thank you for reading the recipe that we convey on here. hope we Hope it’s useful and good luck!